Erica and I were challenged to make macarons for this month's daring bakers event. Even though we've done this
before, we were excited to try a new method. And to partake in the customary fall baking strategy -- making everything taste like pumpkin pie.
While we lacked a kitchen scale to really perfect this recipe, we did try to make sure our almonds were finely ground.
We went with pumpkin pie spice in the meringue, and pumpkin in the buttercream. And some orange food coloring for style.
Piping went well, despite our ad hoc pastry bag.
Per the new "Italian" method, we left the finished merigues out to dry before baking.
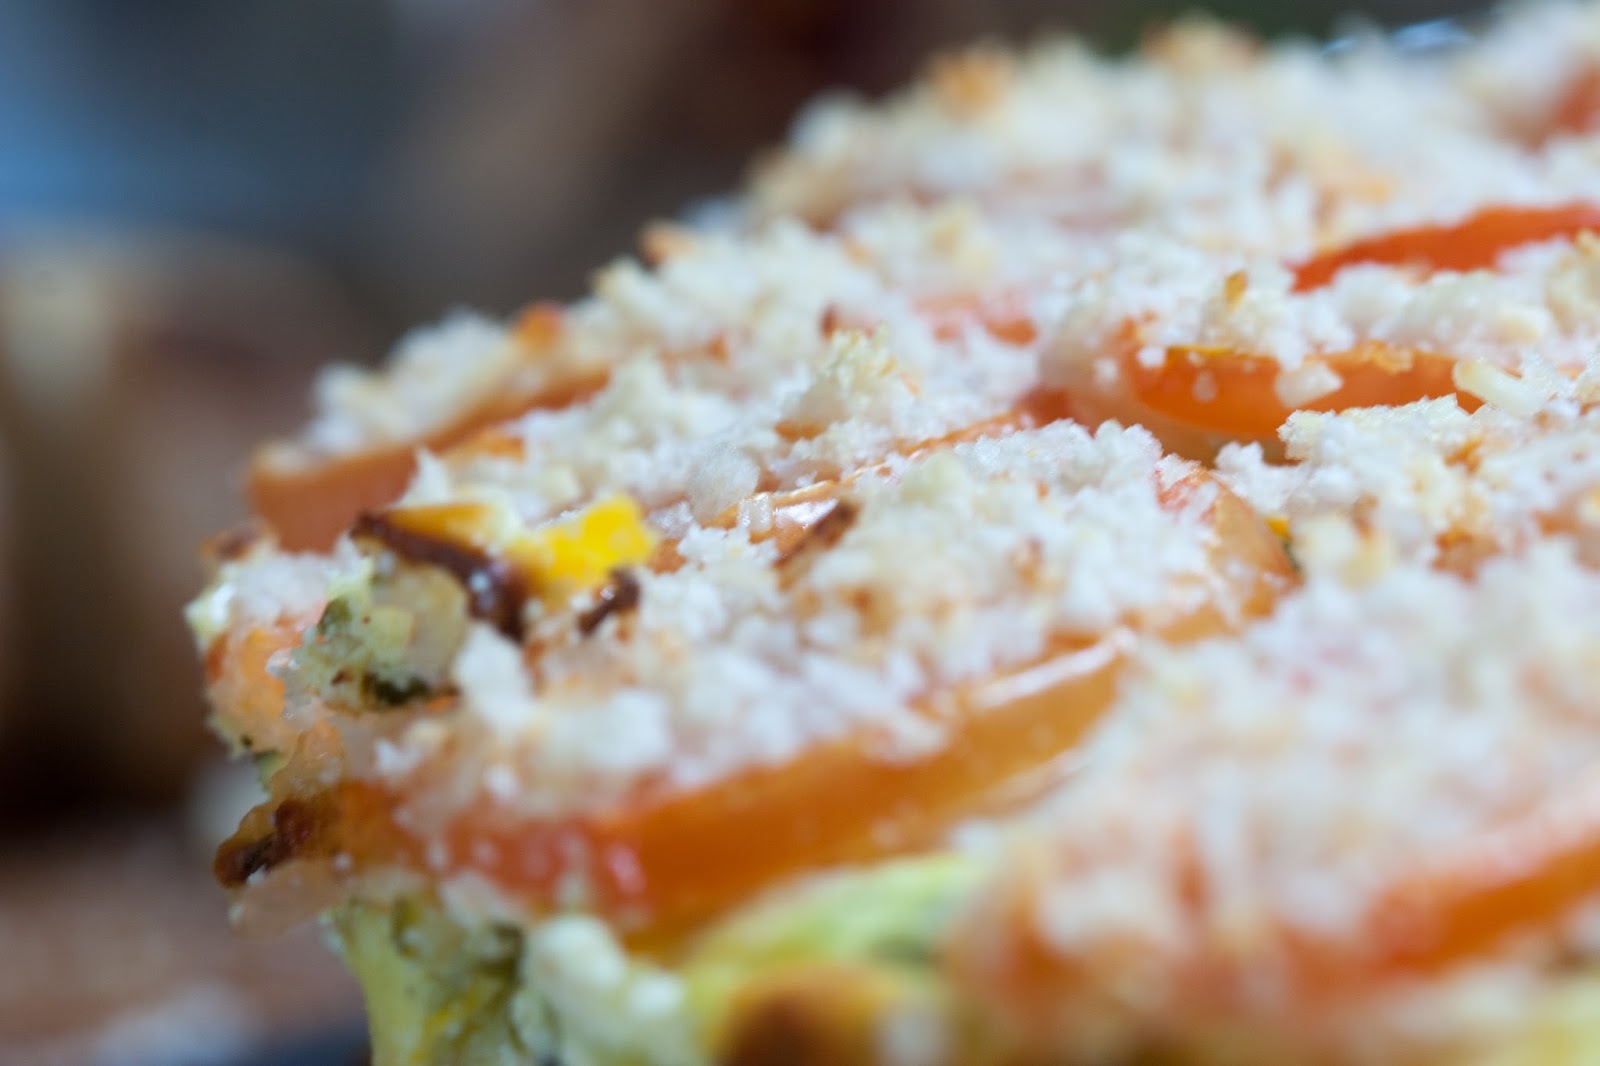
Sadly, however, our cookies were without the tell-tale feet, and certainly a little squishier than we would have liked. Good flavor though, especially after being chilled in the freezer.
For the month of October we got to take on one of many bakers' deepest,
darkest kitchen nightmares : macarons. Our talented bakers Korena from Korena in the Kitchen and Rachael from pizzarossa made the intimidating task of mastering these French beauties a breeze.
Macaron
shells using the Italian meringue method
Servings: 30 x 4cm / 1 1/2” filled
macarons
Ingredients
(original recipe in grams)
140g / 4.9 oz ground almonds, room temperature
140g / 4.9 oz powdered (confectioner’s) sugar
100g / 3.5 oz egg white (from approx. 3 eggs), room temperature, divided 50/50
100g / 3.5 oz granulated (white) sugar
40g / 1.4 oz (weight) water
A few pinches of pumpkin pie spice
Directions:
1. Prepare 2 parchment (not wax paper) lined baking sheets. They need to
be big enough to hold 30 x 4cm / 1 1/2” diameter shells each. (I have my piping
guide under the baking paper here.)
2. Mix the ground almonds and powdered sugar (and cocoa powder, if
using) together in a bowl, then grind in a food processor until you have an
extra fine texture. You may need to do this in batches, depending on the size
of your food processor.
3. Sift into a large bowl (I use a mesh strainer and push the mixture
through with a spatula), putting any bigger pieces of almond back into the food
processor to re-grind.
4. Add 50g egg whites and mix thoroughly into the almond mixture. At
this point, you can add food colouring or flavouring such as vanilla seeds,
citrus zest, essense, if desired. (I added 1/2 tsp vanilla paste and 1/2 tsp
red powder food colouring to this batch.) Set aside.
5. In another bowl, or the bowl of a stand mixer, scrupulously clean and
free of any oil or egg yolk, beat the other 50g egg whites to stiff peaks.
6. Meanwhile, put the granulated sugar and water into a small
heavy-based saucepan and heat on medium-low to 118°C / 244°F, without stirring.
7. While whisking constantly on low speed (to avoid splashing hot
syrup), slowly add the cooked sugar mixture to the beaten egg whites, pouring
it down the inside edge of the bowl. You’ll get a bit of it hardening on the
side of the bowl, but that’s okay – just leave it there.
8. Whisk at high speed until the mixture is cool, about 3 minutes. About
1 minute before the end, you can add food colouring, if not done at the almond
paste stage. The mixture should increase in volume and become firm and shiny,
and it should be thick and marshmallowy when you lift the whisk.
9. Scrape the meringue onto the almond mixture and incorporate with a
rubber or silicone spatula. You do actually want to get a lot of the air out of
the mixture – you do this by folding and squashing the mixture against the side
of the bowl, rotating the bowl a quarter turn with each fold. Be sure to firmly
scrape the bottom of the bowl with the spatula, so you don’t leave a layer of
almond paste there.
10. Mix until you have a homogenous batter that runs from the spatula in
a thick ribbon.
11. Transfer the mixture into a piping bag fitted with a 7 – 9mm / #10 -
#12 plain round tip (this is best done in two batches, so you don’t overfill
the bag). Pipe 60 equally sized rounds, about 4cm / 1 1/2” in diameter, in
staggered rows onto the prepared sheets. Hold the piping bag upright with the
tip just above the sheet and pipe without pulling upwards or swirling in
circles, so the batter comes out in a round blob around the tip, and give a
little sideways flick at the end to break the stream.
12. Tap the baking sheet firmly on the bench several times to release
air bubbles and obtain a smooth surface. If you have any tips sticking up,
press them gently down with a damp fingertip.
13. Leave the tray to rest at room temperature for at least 20 minutes
until a slight skin forms. If you touch it, it should be only just tacky.
14. Meanwhile, preheat oven to 150°C / 300°F / Gas Mark 2. Bake the
macarons in the centre of the oven for 18 minutes (20 minutes if using cocoa in
the shells), one sheet at a time, turning the sheet half-way.
15. Remove from oven and remove the parchment from the tray with the
shells still on it and place on a cooling racks for at least 30 minutes, until
completely cool, then remove macaron shells carefully from the parchment.
16. If not filling straight away, store in an airtight container at room
temperature, separating layers with parchment. Otherwise, fill and store in an
airtight container in the fridge to mature for at least 24 hours before eating.
Swiss
meringue buttercream frosting
Servings: about 2 cups of buttercream
(approx. twice the amount needed to fill 30 macarons, but the excess can be
frozen)
Ingredients
1/2 cup / 100g / 3.5 oz granulated sugar
2 large egg whites
pinch salt
1 1/2 sticks / 3/4 cup / 180 g / 6 oz unsalted butter
Directions:
1. Cut the butter into 1/2 inch / 1 1/2cm cubes and set out to soften to
room temperature.
2. Put the sugar, egg whites, and salt in a large, scrupulously clean
heatproof bowl over a saucepan of simmering water. Whisk the mixture constantly
(this is to prevent it from turning into scrambled eggs, not to beat it into a
meringue) and heat it until the mixture is hot to the touch and the sugar has
dissolved completely (about 130˚F / 54°C).
3. With an electric mixer, beat the egg white mixture on medium-high
speed until it turns into a thick, fluffy, stiff-peaked meringue (mine never
quite reaches stiff peaks and still turns out fine). Test the temperature of
the meringue with your finger – it should be completely cooled to room
temperature and not warm AT ALL. If it is still warm, keep stirring on low
speed until the mixture is completely cool to the touch. (This is very
important because the next step is to add butter, and if the meringue is warm
it will just melt rather than emulsify into a buttercream.)
4. While the meringue cools, check on your softening butter cubes: you
should be able to squish the butter with your finger. You want it soft enough
to spread but not at all melted. The key to successful Swiss meringue
buttercream is to have the meringue at room temperature and the butter just
soft enough to mix in.
5. Once the meringue is cool and the butter soft, turn
the mixer to medium-low speed and begin adding the butter to the meringue one
cube at a time, waiting until each cube is incorporated before adding the next.
Your meringue may collapse and look kind of curdled and shiny: this is normal.
Just keep slowly adding the butter, one cube at a time, and continue mixing. It
will start looking thicker and chunky, and then suddenly it will be
buttercream. Once all the butter is added, increase the speed to medium and mix
until it is smooth, thick, and fluffy.